

Anything with a lid and a two-zone setup.
Direct Heat, Deep Crust
 by Pitmaster Tripp
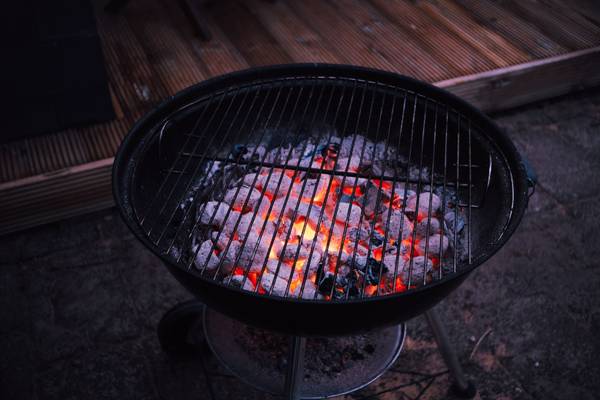
Cooking over live coals, close to the fire, where the heat is high and the sear is the point. Char-grilling is how you get a crust on a chop, blistered skin on wings, and the smell of dripping fat hitting hot charcoal. It is fast, it is unforgiving, and it is the method most people think they already know.
When to use it
Not the move when
The Method
Build a two-zone fire
Light a full chimney of charcoal and let it burn until the top coals are ashed over, about 15 minutes. Dump it on one side of the grill only, banked two coals deep. The empty side is your cool zone, and you will use it more than you think. Put the grate on, close the lid, open the vents wide, and give it five minutes to heat.
Clean and oil the grate
Scrape the hot grate with a brush, then wipe it with a folded paper towel dipped in high-heat oil, held in tongs. A clean, oiled grate is the difference between grill marks and a chicken thigh that leaves its skin behind.
Season and dry the meat
Pat everything dry before it goes on. Wet meat steams instead of searing. Salt it at least 30 minutes ahead if you can, or a full day if it is a thick cut (see Dry-brine). Keep sugar out of the rub until the end, or it will go black before the inside is done.
Sear over the coals
Lay the meat over the hot side and leave it alone. Turning early tears the crust off. Give a chop or steak three to four minutes a side; wings and sausage a couple of minutes a side, turning as they color. Flare-ups from dripping fat are part of it, but if flames are licking the meat for more than a few seconds, slide it to the cool side until they die down.
Finish on the cool side
Once the outside is where you want it, move everything to the cool zone, close the lid, and let the trapped heat carry it to temperature. This is where thicker cuts and bone-in pieces get done without burning. Vents half open holds the lid around 350–400°F.
Check with a thermometer, not a timer
Pull chicken at 165°F in the thickest part, pork chops at 140°F for a rest to 145°F, steak by your preference. An instant-read takes three seconds and saves the cook. Rest everything five to ten minutes before you cut.
From the pit
Avoid these
Gear for this method
Anything with a lid and a two-zone setup.
Pull by temp, never by time.
Keep cooking
Talk it out
Questions, tweaks, and results from cooks who run this method.
Start the conversation — be the first to talk through this method.

Sign in to join the conversation.
Free to join — and everything stays free to read.